I have been very busy working on a few really exciting films. Unfortunately, I won't be able to share the gorey bits until the films come out.. It will be worth the wait, I promise.
In the meantime, I can share a prop and prosthetic that I just made for my friend Alex for a music video. As soon as the video is finished I will post a link.
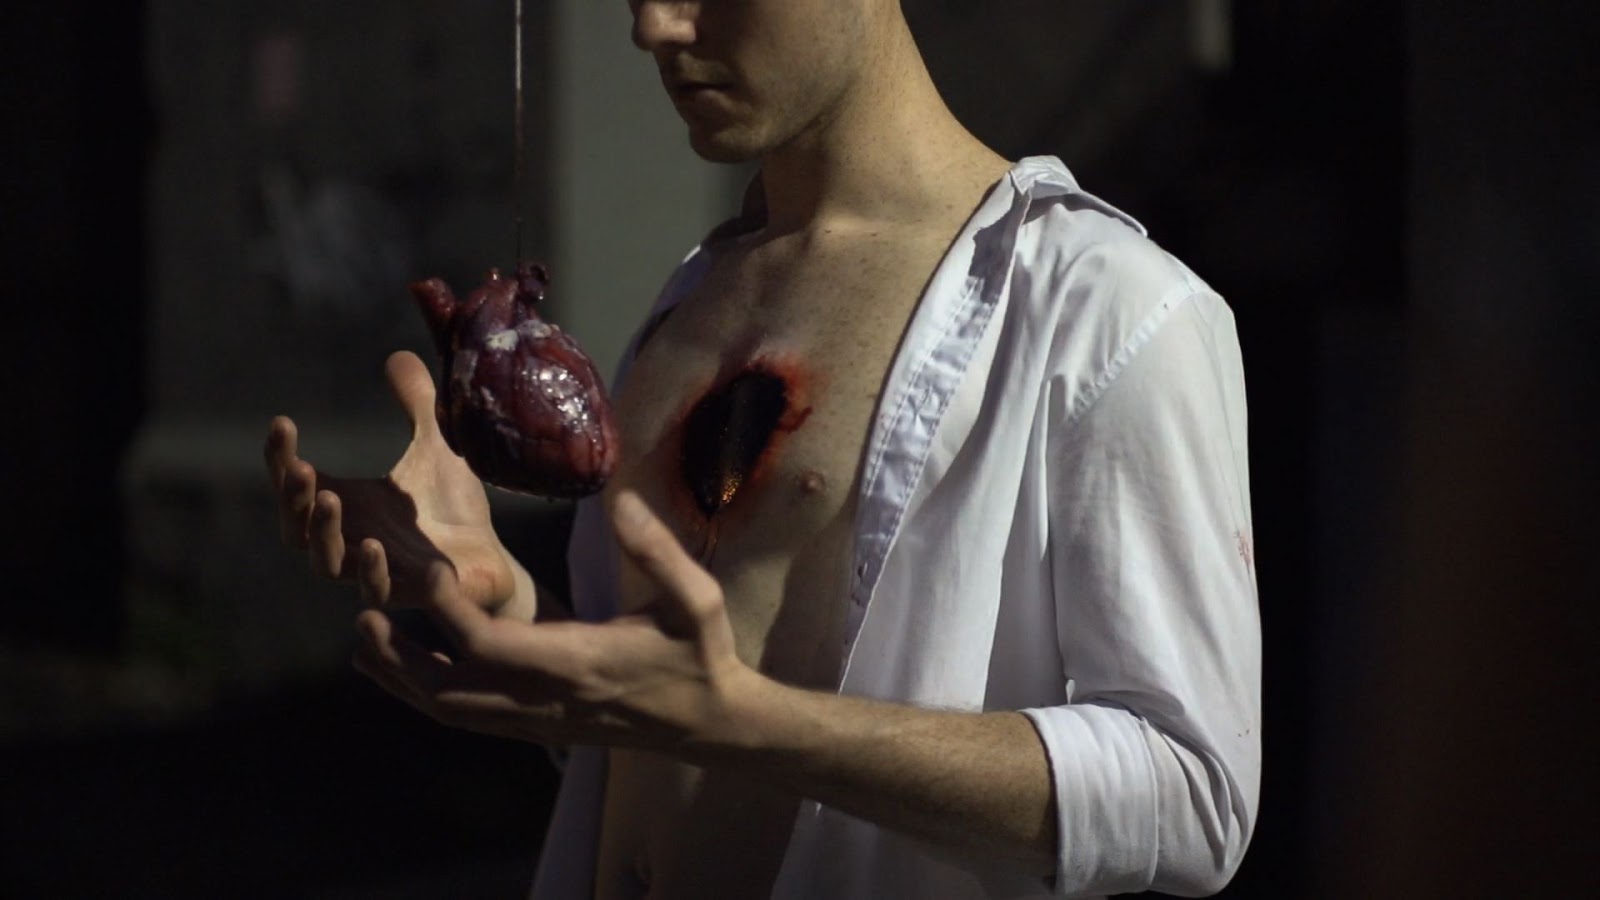
Alex asked me to make him a realistic heart and a prosthetic. The prosthetic would be placed on the chest to create the illusion of a hole that the heart came out of.

For the prosthetic, we talked about shooting it a few ways. Sometimes good old fashioned special effects and fancy new technology work perfectly together..and this seemed like the perfect effect to blend the two. I had suggested making a hole appliance, then, using green screen makeup to paint the inside if the hole. In post, it could be made to look really deep.
Unfortunately, the budget and time constraint did not allow for this and the inside of the prosthetic was painted black with goopy blood applied on top. As I was not available for the shoot, my good friend Mia Bauman was responsible for the amazing application and painting of the prosthetic.

The appliance itself was a prosaide transfer. I tinted the creamed prosaide before casting so minimal painting would have to be done on site.
Using some scrap wood around the shop I built a quick little armature to start sculpting the heart on. Where the dowel was would ultimately become the gate of the mold where I would pour the casting material in.

Having a bunch of my favorite Chavants Le Beau Touché clay recycled from previous sculptures I started sculpting. The sculpture took about five or six hours from start to finish. I used a print out from a google image search as a reference. One of my favorite sculpting tools is a little loop tool from Kemper I purchased in Atlanta last year. It was amazing for the detail in the heart.
This project was the..."what materials do I have lying around the shop...I'll use the leftovers from the past many projects". Which is great for cleaning out the studio.

For the mold, I built up my dividing wall with WED clay and brushed on a few layers of Dragon Skin 10 Fast (I generally don't use this for molds, but since this was already at the shop, I used what I had on hand). My last layer I thickened with Thivex, a silicone thickening agent by Smooth-On.

I used Aqua Resin and chopped fiberglass for the mother mold. I don't usually ignore mixing instructions when it comes to materials, but I always mix my Aqua Resin really thick for my molds. It is a two part compound, a liquid and a powder that mixes similarly to plaster. I buy double the amount of the powder component when making molds (it's also a great casting material too).


After the first half of the mold cured over night, I carefully removed the WED clay wall and cleaned any water clay residue from the sculpture. For a release, I used Vaseline on the rubber and Sonite Wax on the resin.

I applied the second side rubber and resin just as I did the first. After an overnight cure I trimmed the edge of the resin all the way around on the band saw.
I had some weird inhibition during the cure for the mold rubber. I'm not sure if it was from using old material or recycled clay, but the inside on one half of the mold remained a little tacky. Regardless, I was going to attempt casting a rubber heart.
After cleaning the mold with 99% alcohol, I used a generous amount of Vaseline to the inside of the mold as a release.
I pre tinted some Dragon Skin 10 Fast with Silc Pig pigment and hoped for the best.

After a few hours I demolded a perfectly good heart! (I will be reusing the mold one last time, to make a master plastic heart to make another mold off of).
The heart was cleaned with soap and water and dried. I used Silc Pig and Fuse FX pigments for the painting. I think the fatty bits are my favorite.


From here, the art department took over......